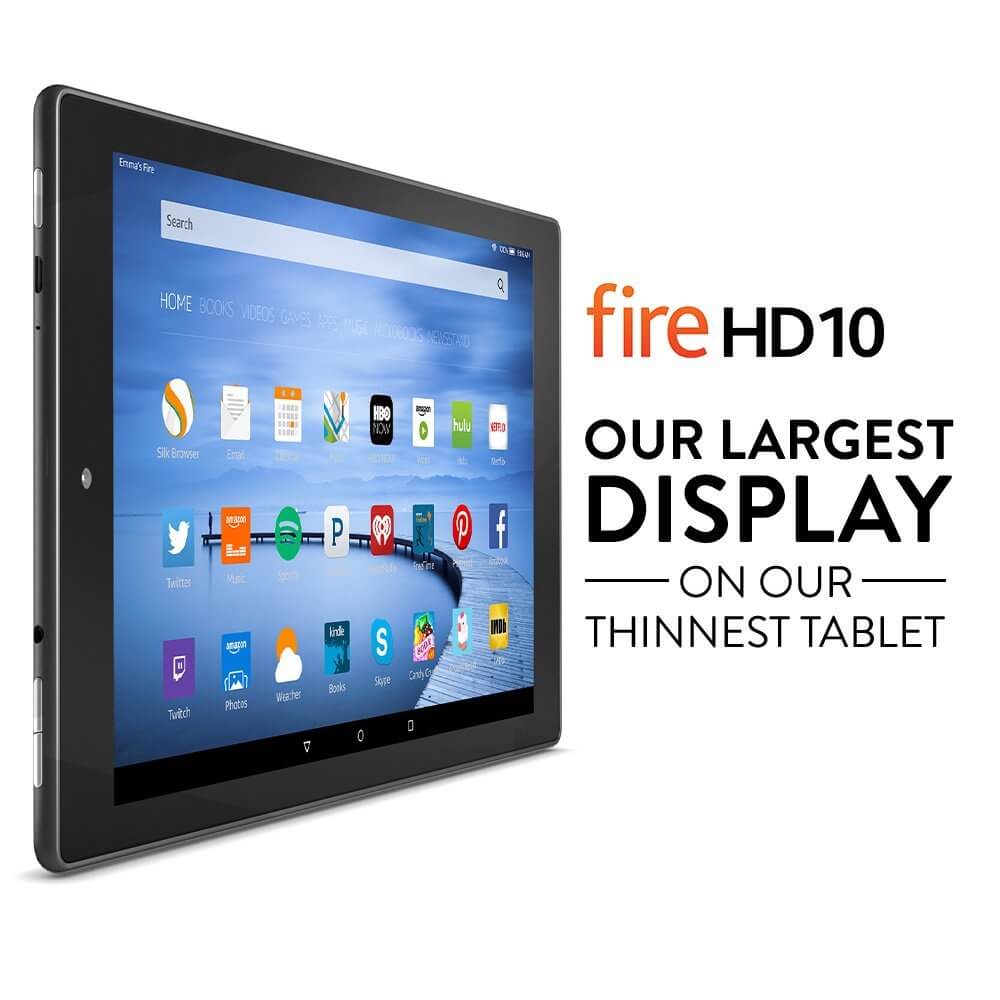
For some time after the launch of Kindle Fire, later abbreviated to Fire, consumers struggled with one knotty issue…
It was not possible to use any network-related Fire features without being connected to WiFi.
With a straight-up e-reader, this would be more manageable. After all, the core reason underpinning most people’s purchase of a Kindle is to enjoy reading uninterrupted by the distractions of devices like tablets.
With Kindle Fire, though, many users clamored to take advantage of the streaming services available when not using a WiFi network. Others wanted the ability to download books anywhere at any time, even if the home internet was inaccessible.
Mobile Data for Kindle Fire
Although it took Amazon some time to respond to consumer demand concerning mobile data, the company added the option of adding a SIM card to harness mobile data on demand.
The first generation Kindle Fire was launched back in 2011, and this offered no support for SIM cards. From Kindle 7 onward, users could choose between WiFi only or a WiFi and Cellular option. The latter provides continuous access to internet.
With the current crop of Fire tablets, you can pop in a SIM card and take advantage of the best deals from your local mobile data providers.
Let’s break down your options for internet access on Kindle Fire at all costs…
Kindle Fire: How to Get Internet Without Wi-Fi
- Using a hotspot from another mobile device
- Using mobile data
- Using Amazon’s data plan

1) Using a hotspot from another mobile device
When you’re confronted with an aging Kindle device that doesn’t allow you to slide in a SIM card, all is not lost when it comes to internet access without WiFi.
The most obvious hack to get yourself online is to piggyback someone else’s WiFi by creating a personal hotspot. How you achieve this will vary depending on what phone you’re using.
2) Using mobile data
If you’re interested in the idea of using mobile data, you’ll need to buy a SIM card and insert this into your Kindle Fire.
Here’s what you do next:
- Slide your finger down the screen so the Notifications menu is revealed
- At the top of this menu, you’ll find the option for Wireless. Select this
- You’ll be presented with further options in a sub-menu, including Bluetooth and WiFi. You need to select the Mobile Network option
- Ensure that the Data Enabled tab is checked
- Enter your PIN if requested
As long as you have mobile data, you’re up and running with online access on your older Kindle Fire.
3) Using Amazon’s data plan
With all models from Kindle Fire HD 10 (2019) onward, you’ll be free to take advantage of Amazon’s own data plan. You can buy this on an annual basis.
This data plan allows you to use up to 250 MB monthly throughout the year. This is not the most generous limit, so you should make sure this will suffice.

Troubleshooting WiFi Connection Issues on Kindle Fire
Maybe you’ve followed the above steps and you still don’t seem to be online when you’re using your Kindle Fire.
Here are some simple troubleshooting tips:
- Can other devices connect to the network? You may find that the problem is with your network so get to the bottom of this by trying to connect from other devices. Assuming it’s just you that cannot connect, consider the following…
- Check Airplane Mode is off: This is perhaps the most common reason for mobile access being disabled so make sure you haven’t accidentally enabled this
- Software: Does your tablet have the latest software installed? If not, remedy this, even if you need to use another WiFi network for the download
- Restarting: Sometimes, the oldest tricks are the most effective. Reboot your device, and reboot your router, too
- Try adding the network manually: As a last ditch attempt, you could try hooking up to the WiFi network manually
Final Thoughts
Here at Pick My Reader, we’re undertaking a new project. We’ve been curating all of the most frequently asked questions hitting our inbox, and we’ll be revealing the answers to these in a series of short guides over the coming weeks.
Be sure to bookmark our blog before you head off. Pop back soon for more great guidance on all aspects of e-readers. See you soon!
